The living room is usually the first photo in a listing and the first room buyers walk into. The dining area, whether it is a separate room or part of an open plan, is where they picture holidays and everyday meals. These two spaces carry more weight in a buyer’s first impression than any others except the kitchen. This checklist walks through them in the order a stager would: clear, clean, arrange, light and finish.
Key takeaways
- Take out anything the room can do without, furniture included.
- Arrange seating to show a clear path and a conversation area.
- Light every corner evenly and open every window covering.
- Finish with a few simple, neutral touches, not decorations.
1. Clear
- Personal photos, diplomas, collections and religious or political items
- Extra furniture: side chairs, ottomans, extra bookcases, anything that narrows a walkway
- Toys, pet beds and bowls, exercise equipment
- Stacks of mail, magazines, remotes and chargers
- Most items on shelves; keep a few books and one or two objects per shelf
- Rugs that are worn or too small for the seating area
- Leaves from the dining table if it crowds the room
2. Clean
- Windows inside and out, including tracks and sills
- Baseboards, vents, ceiling fan blades and light fixtures
- Upholstery and rugs; consider professional cleaning for stains or pet odor
- Fireplace glass and surround; remove ash
- Scuffs on walls and doors, touch up paint where needed
3. Arrange
Pull furniture away from the walls where the room allows it and group seating around a focal point: the fireplace, a window with a view or a simple coffee table. Buyers should be able to walk from the entry through the room without stepping around anything. If the room has two possible layouts, pick the one that shows off the biggest window or the fireplace, and that photographs well from the doorway.
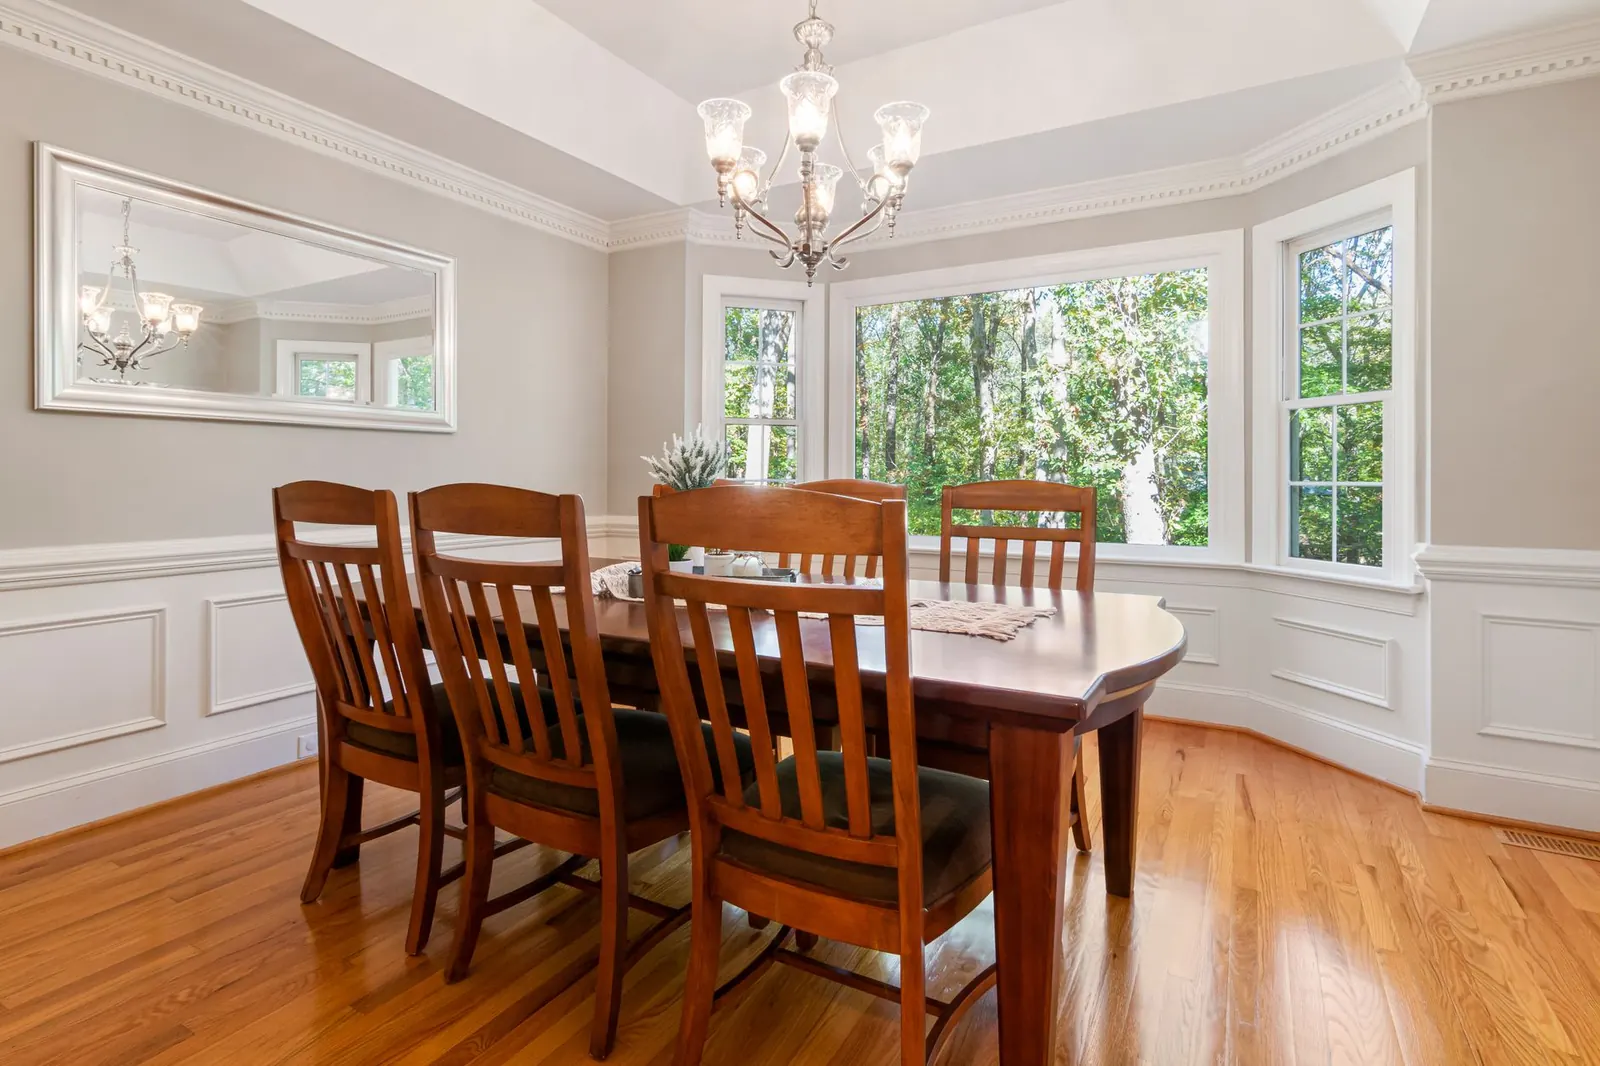
In the dining area, the table should leave comfortable space to pull out chairs on every side. If it does not, use a smaller table or take out a leaf and two chairs. Center the table under the light fixture.
4. Light
- Open every blind and curtain fully; remove heavy drapes that block light
- Use matching bulbs in the same color temperature throughout the room
- Add a floor or table lamp to any dark corner
- Check that every fixture works, including fan lights and dimmers
- In a south- or west-facing room, consider sheer curtains to soften strong afternoon sun
Tip: Denver’s bright sun can wash out one side of a room in photos. Ask the photographer what time of day your living room looks best and plan around it.
5. Finish
The finishing touches are few and simple. A throw on the sofa, two or three cushions in a color that picks up something in the room, a plant or a bowl of fruit, a stack of two or three books on the coffee table. On the dining table, a simple runner or a single bowl is enough; a fully set table can look staged in the wrong way. Keep art neutral and hang it at eye level.
Open plan spaces
In an open plan home, the living, dining and kitchen areas are seen together, so they need to feel like one space. Use rugs to define each zone, keep colors consistent across all three and make sure the sight line from the entry to the far window is clear. Anything on the kitchen counters will show up in the living room photo, so the Kitchen and Bathroom Staging Checklist matters here as well.
Walls, art and color
Strong wall colors and a lot of art pull attention away from the room itself. If a living room is painted a dark or bold color, a lighter neutral makes it look bigger and brighter in photos; ask your agent whether repainting is worth it for your house. Reduce the art to a few larger pieces rather than many small ones, fill nail holes where you remove frames, and avoid gallery walls of family photos. Mirrors help in a dark room, but place them where they reflect a window, not a blank wall or the camera.
Fireplaces and built-ins
A fireplace is a selling point, so make it a clear focal point. Clean the glass and surround, remove ash, and keep the mantel to two or three simple objects. Built-in shelves should look useful, not full: a few books laid flat and upright, one or two objects and plenty of empty space.
Before the photos
Walk the room one last time from the doorway, the angle most photos are taken from. Straighten cushions, hide cords, turn on every lamp and move anything that sits in the foreground of the shot. The rest of the photo day routine is in Getting Your Denver Home Ready for Listing Photos.